

How To Draw A Wolf
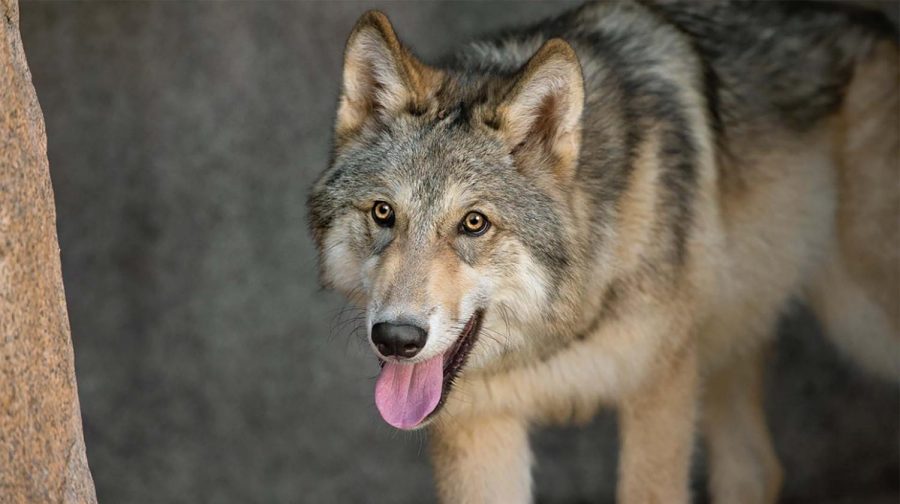
http://animals.sandiegozoo.org/sites/default/files/2016-12/Wolf_ZN.jpg
February 6, 2018
Sometimes drawing can be difficult and you might need a little practice to get good. Drawing animals and humans can be especially be a challenge because of joint movement and the overall anatomy. I’m here to help you learn how to draw a wolf! Just follow these 4 simple steps and you’ll know how to draw a wolf in no time!
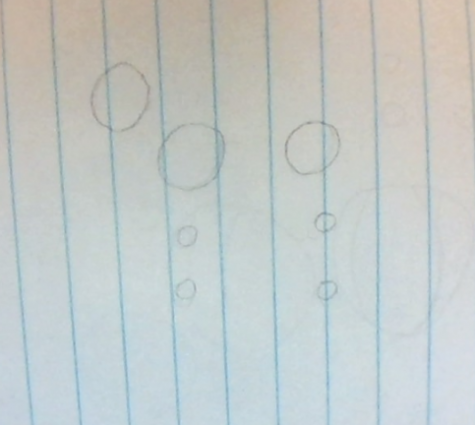
Step 1: First draw a circle where the head is, at the base of the neck, at the hip and the knees and paws. Remember, these circles don’t have to be perfect. Make the circles light so you can’t see them in your final product.
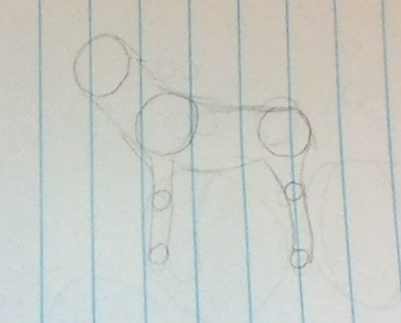
Step 2: Draw an outline against the circles that you previously drew. Instead of making a straight line, make some parts jagged that looks like fur to help in the next step. If you want to make this look realistic, then make the line light so you can erase it and redraw it with no (visible) line.
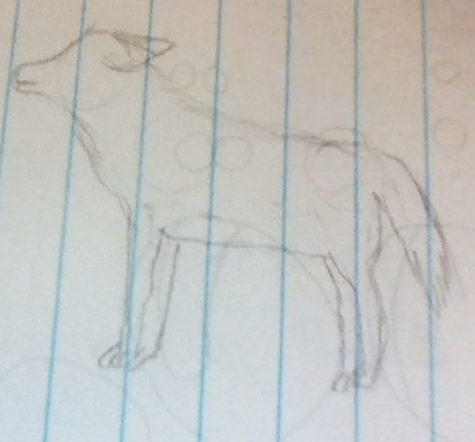
Step 3: Once you’ve got the outline, add details like fur, the tail, paws, ears, and the snout. If you want to add the nose during this step then you can, but I would wait until you get the other details in or else it wont fit in. Now you can erase the circles.
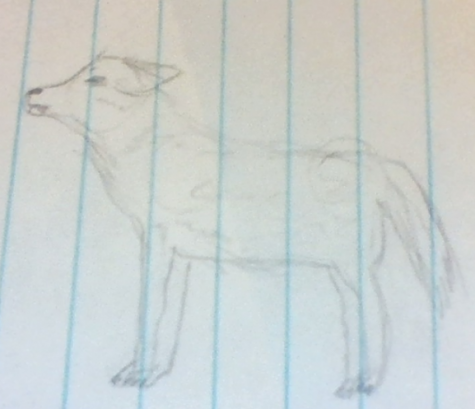
Step 4: Lastly, add advanced details like claws, eyes, and fur on the side of the body. One hard detail to add would be shading – if you want to add shading, try to make the fur on the sides pop by putting shading near it. Also, now would be a good time to add the nose.
Hopefully, you’ve learned something from this and I hope you are now able to draw a wolf! If you practice with these steps, you may be able to draw any animal.